How do I edit my website files with an FTP client?
In this guide, you will learn how to link an FTP client to your website and learn how to access your web hosting files.
An FTP client is an application on your computer that connects you to remote servers through FTP and other protocols.
Step 1
Download & Install an FTP client. In this example, we will be using Filezilla.

Step 2
Sign into cPanel.
Step 3
Copy the Shared IP Address value. This will be referred to as the FTP host later on.

Step 4
Navigate back to Filezilla and open Site Manager under File.

Step 5
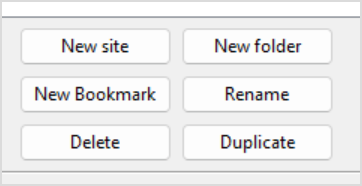
Select "New site" to create a new Site to keep stored on your FTP client.
Step 6
Type in the name that you want the site to be named as in the FTP client.

Step 7
Configure the values as shown, then select OK.
Protocol: SFTP - SSH File Transfer Protocol
Host: Shared IP Address from Step 3
Port: 22
User: cPanel Username that you used to sign in from Step 2
Password: cPanel Password that you used to sign in from Step 2

Using SFTP (Port 22) allows secure file transfers over the internet. Using FTP (Port 21) is considered unsecured, meaning the content of your files is not encrypted when being transferred over the internet.
Step 8
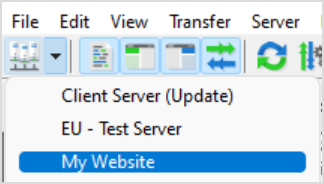
Select in the Site Manager dropdown the site you just created.
Step 9
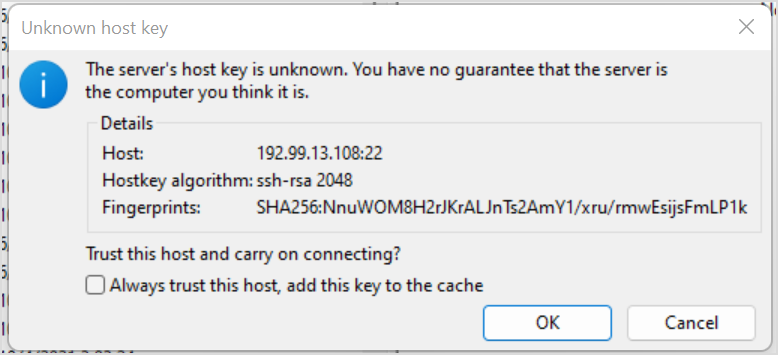
Read the prompt that appears about an unknown host key. Ensure that the Host matches the Shared IP address from Step 3, if so. Select OK.
Step 10
Complete the tasks that you need to do
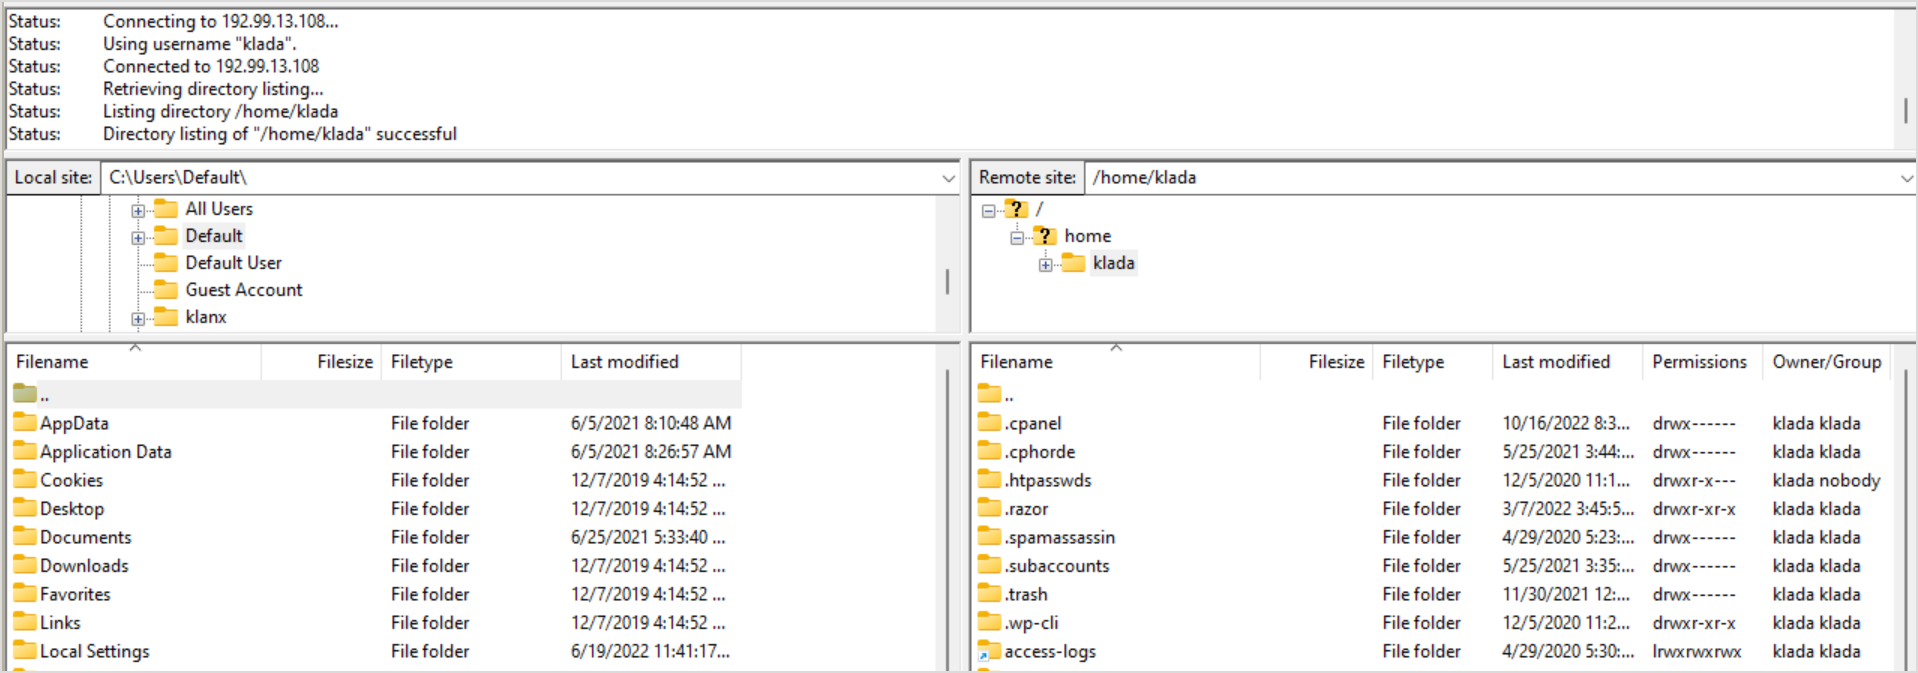
The left-hand side is your local computer, the right-hand side is the website files. To modify files that are public, navigate to the "public_html" file and start placing/removing content there.
You have completed reading this guide.