
How do create a file system on my VPS's additional mount?
Step 1
Login to your VPS with an SSH tool, in this example we are using Bitvise SSH.
Once signed in, run the following command.
lsblk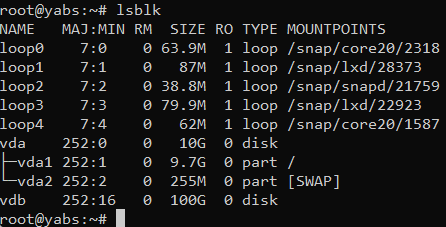
Step 2
SelectRun the VPSfollowing you wishcommand to control.create a file system on that disk.
mkfs.ext4 /dev/sdb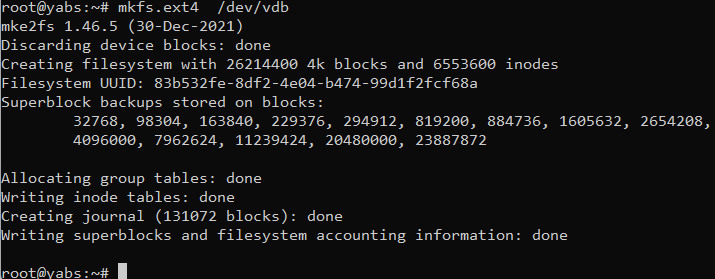
As you see now there is a file system of mkfs.ext4 created on that mount.
Run the following command.
blkid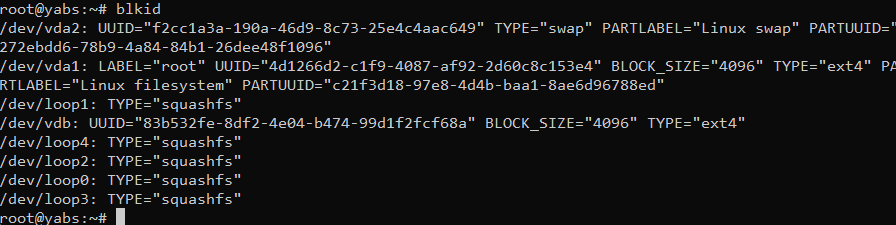
Keep a note of the UUID value of /dev/vdb.
Step 3
OnRun the navigationfollowing bar,commands selectto mount the Backupsfile buttonsystem to view the Backups menu.OS.
mkdir /mnt/data
mount -t ext4 /dev/vdb  /mnt/data
Step 4
Listed below are 2 VPS backups for the VPS we have selected above.

On the left-hand side, it will show the date and time when the backup was created, on the right-hand side are the actions available per backup.
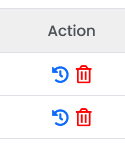
| Name |
Action |
| Restore |
Selecting this will restore the VPS to that mirror. |
| Delete |
Selecting this will delete the VPS mirror permanently. |
Select the restore action for the date and time you want to back up.
Step 5
Select Ok to initiate the restore process in the background.
This can take 1-10 minutes to complete.
This will permanently delete all data on your VPS at the moment and restore all data from the date and time you selected.