VPS Guides
- How do I start/stop/restart VPS?
- How do I change the hostname of my VPS?
- How do I re-install my Operating System for my VPS?
- How do I change the password of my VPS?
- How do I view the backups of my VPS?
- How do I view the IP Address of my VPS?
- How do I create a manual backup for my VPS?
- How do I restore a backup for my VPS?
- How do create a file system on my VPS's additional mount?
How do I start/stop/restart VPS?
Step 1
Sign in to the VPS panel.
VPS Panel: https://vps.aquatis.host:4083/
Step 2
Select the VPS you wish to control.

Step 3
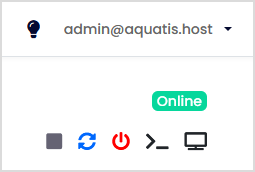
On the top right select the button of the action you wish to perform.
| Button |
Action |
| Start/Stop the VPS |
This will start the VPS if it's powered off and will stop the VPS if it's powered on. |
| Restart the VPS |
This will turn off the VPS and turn it back on right after. |
| Poweroff the VPS |
This will power off the VPS and not automatically turn it back on. |
| Connect to VPS via SSH |
This button would allow you to connect to the VPS with an online SSH session. |
| Connect to VPS via VNC | This button would allow you to connect to the VPS with an online VNC session. |
How do I change the hostname of my VPS?
Step 1
Sign in to the VPS panel.
VPS Panel: https://vps.aquatis.host:4083/
Step 2
Select the VPS you wish to control.
Step 3
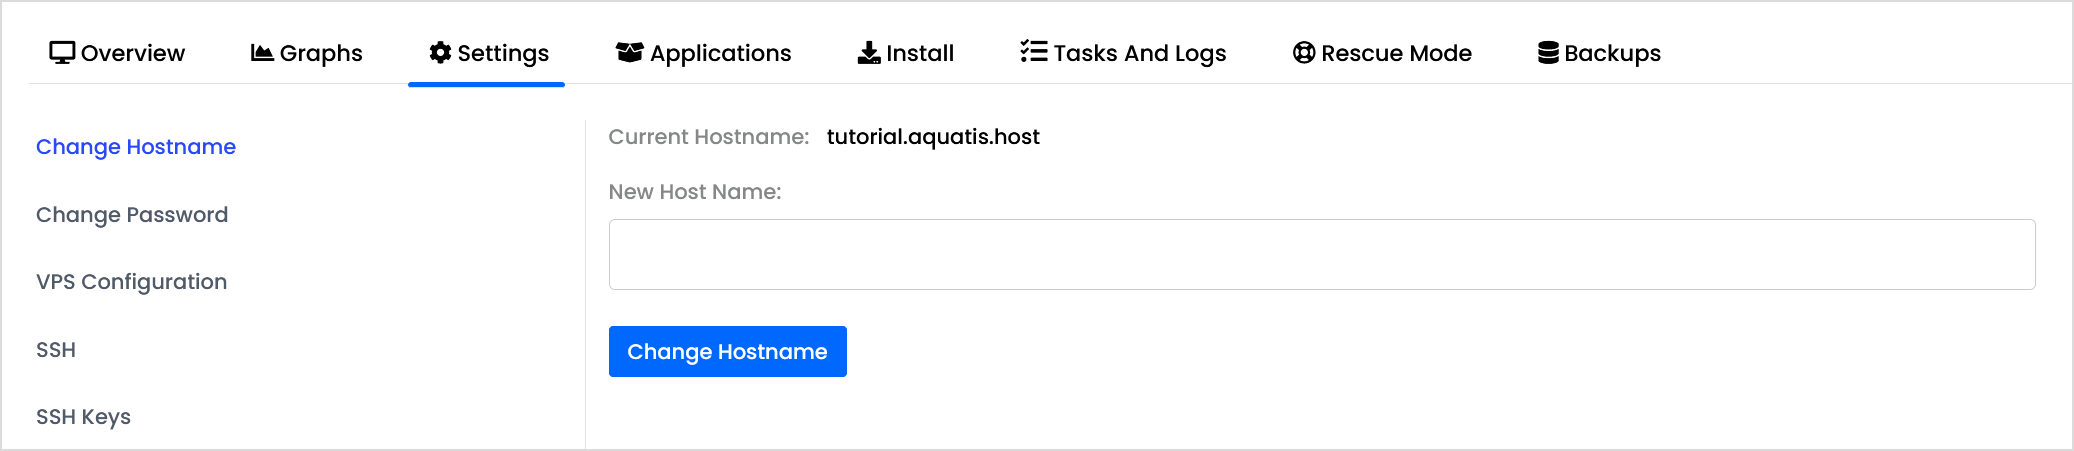
On the navigation bar, select the Settings button to view the VPS settings.

Step 4
The settings page has the Change Hostname as the first option.
Step 5
Type in the new hostname and click Change Hostname.

Step 6
Restart the VPS by selecting the Blue restarting option on the top right hand of the screen. This will restart the VPS and apply the new hostname.
How do I re-install my Operating System for my VPS?
Step 1
Sign in to the VPS panel.
VPS Panel: https://vps.aquatis.host:4083/
Step 2
Select the VPS you wish to control.
Step 3
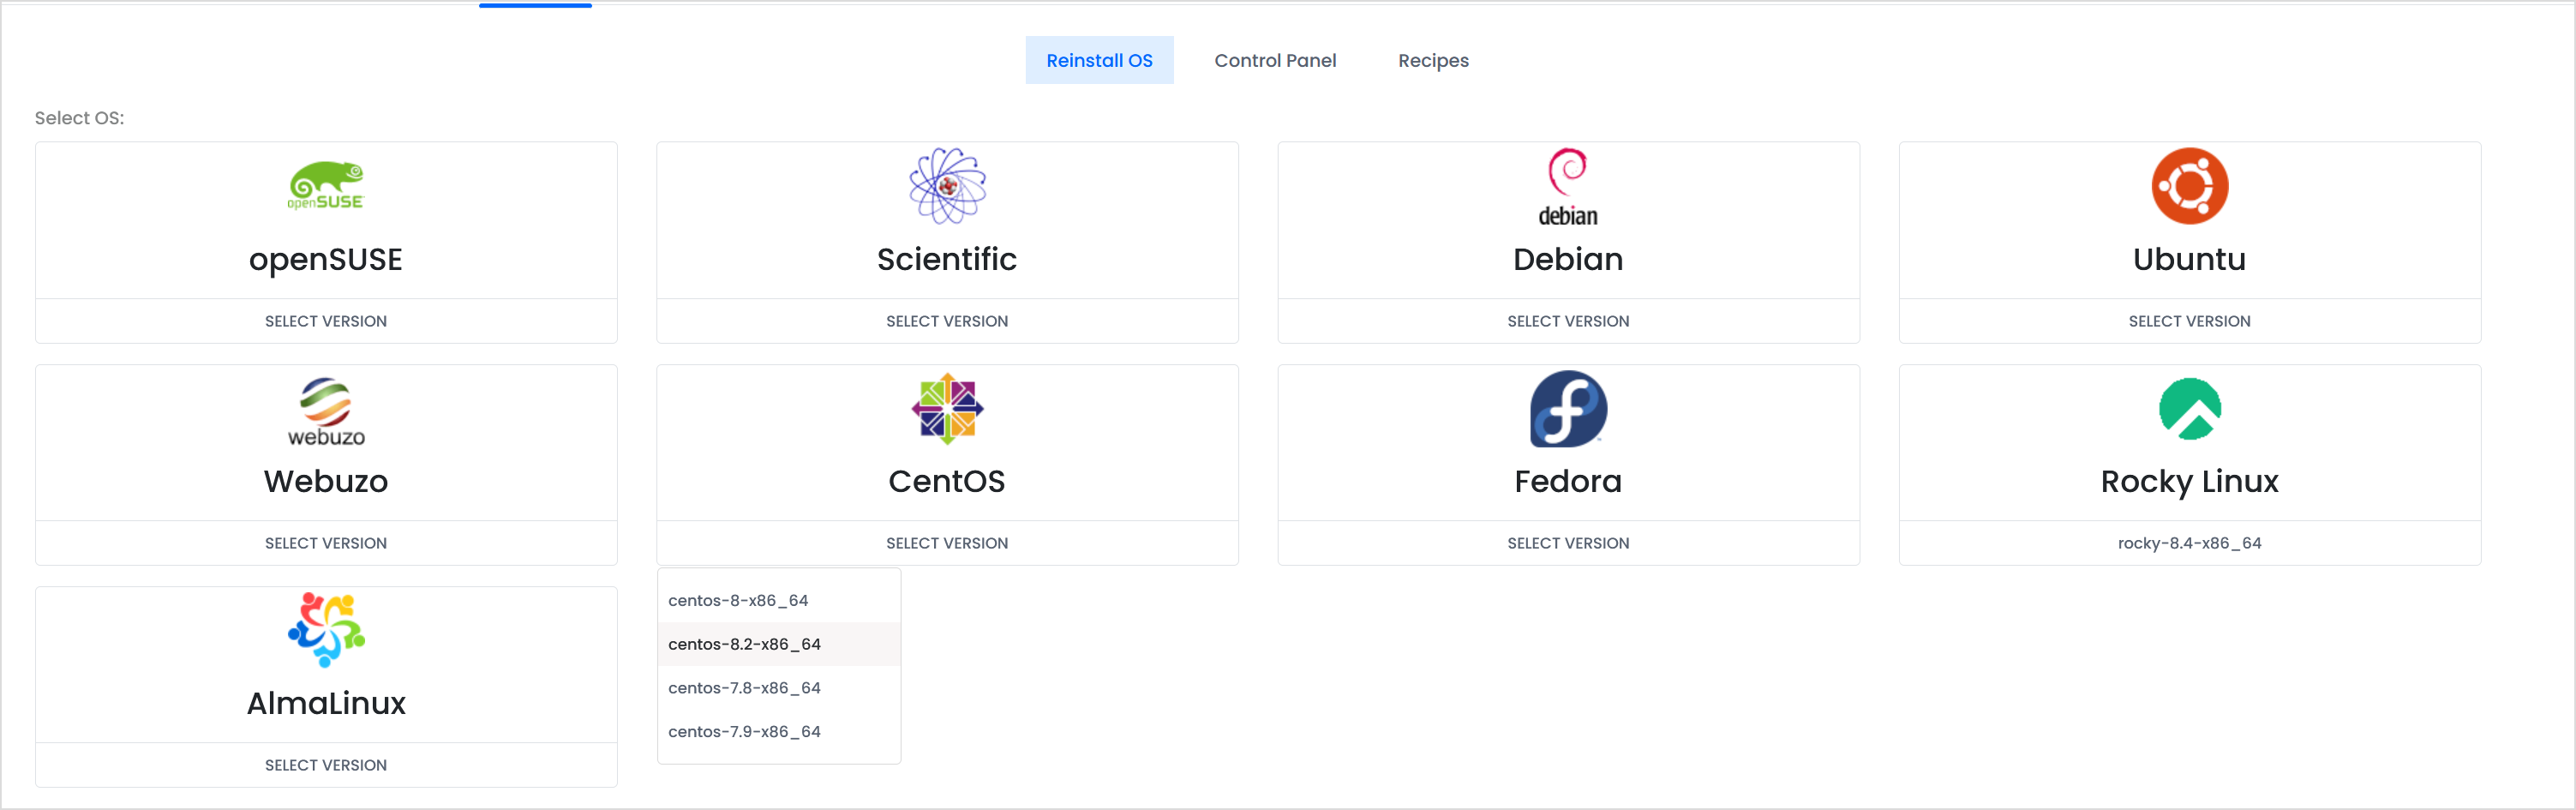
On the navigation bar, select the Install button to view the Operating Systems available to re-install.

Step 4
Select the Operating System that you wish to re-install.
If you want to delete all the files of your VPS and start with a clean slate, you can select the same operating system currently installed on your VPS.
Step 5
Type in a new password below and retype it as well to confirm it.
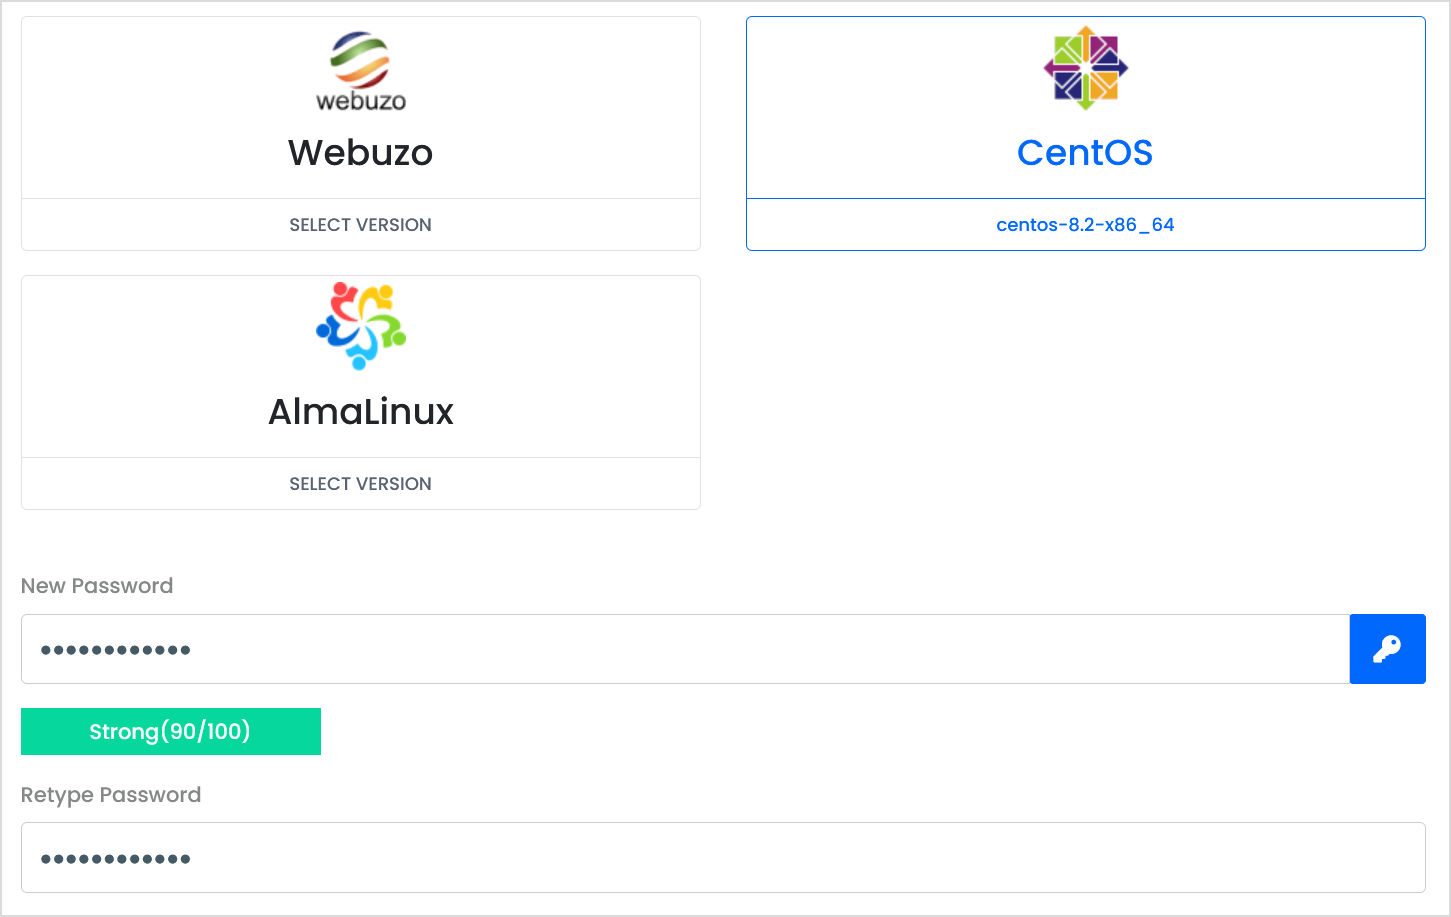
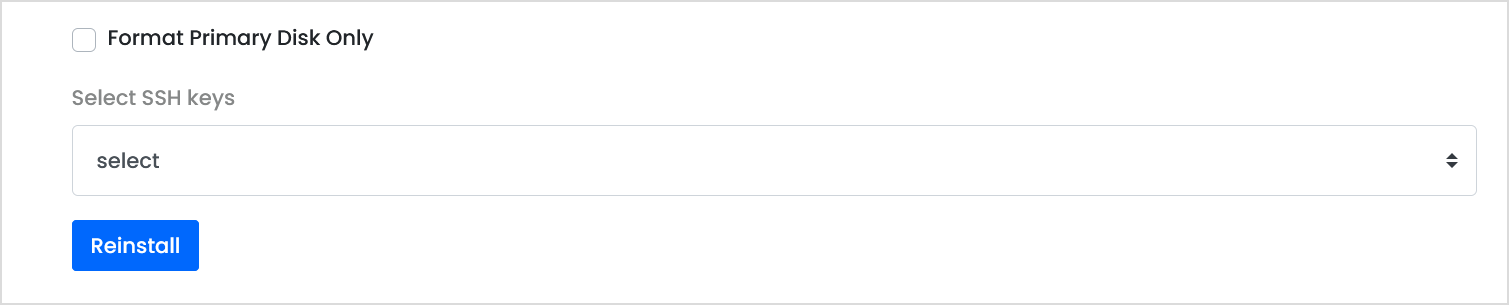
Step 6
Ignore the Format Primary Disk Only option, If you wish to select SSH keys for the VPS you can re-add them. Select Re-install to initiate the VPS re-install.
Step 7
Confirm that you wish to re-install the VPS operating system.
Once you select ok, the data is lost permanently. Please ensure you keep a backup of your VPS contents.

Step 8
Wait as the VPS re-installs the operating system. Once complete, the server will boot back online.
How do I change the password of my VPS?
Step 1
Sign in to the VPS panel.
VPS Panel: https://vps.aquatis.host:4083/
Step 2
Select the VPS you wish to control.
Step 3
On the navigation bar, select the Settings button to view the VPS settings.
Step 4
Select "Change Password" on the left-hand side.
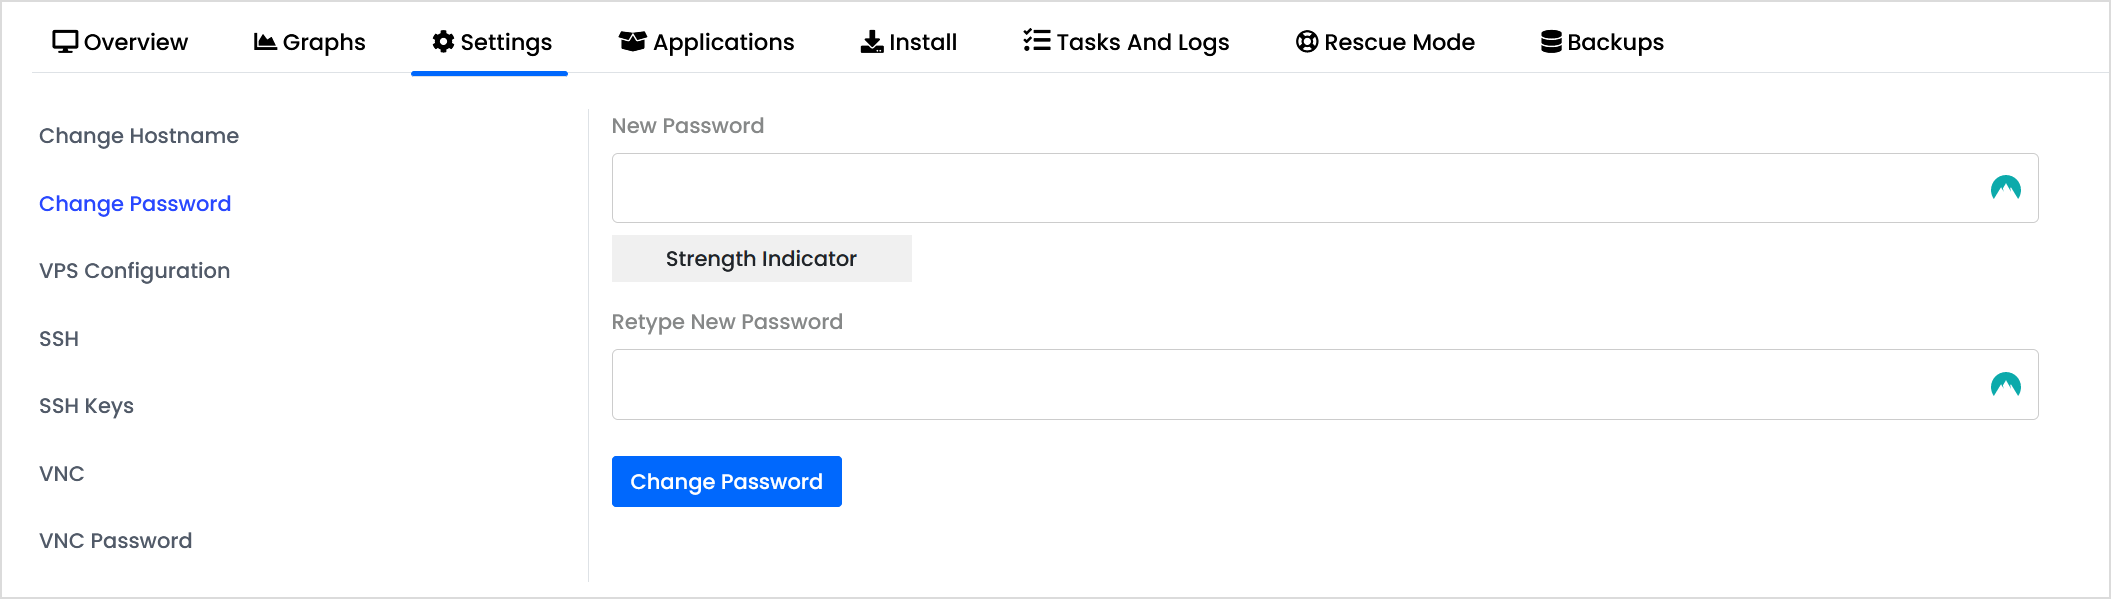
Step 5
Type in the new password in both boxes, then select Change Password.

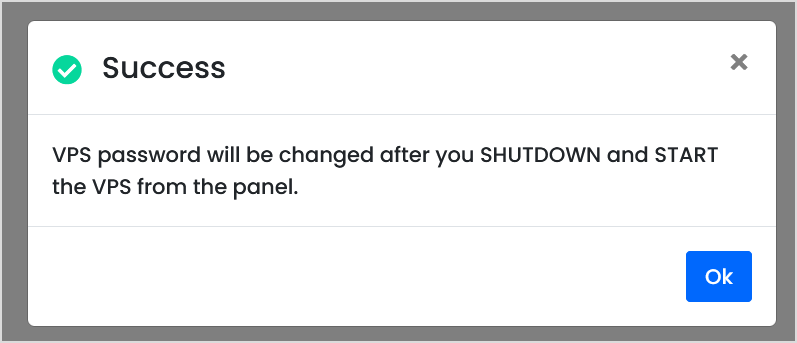
Step 6
Shutdown & Start the VPS for the password to take effect.
How do I view the backups of my VPS?
VPS Backups are currently only provided with High Ram KVM VPSs.
Step 1
Sign in to the VPS panel.
VPS Panel: https://vps.aquatis.host:4083/
Step 2
Select the VPS you wish to control.
Step 3
On the navigation bar, select the Backups button to view the VPS backups.

Listed below will be the backups currently stored. This will show you all of the options currently available to you.
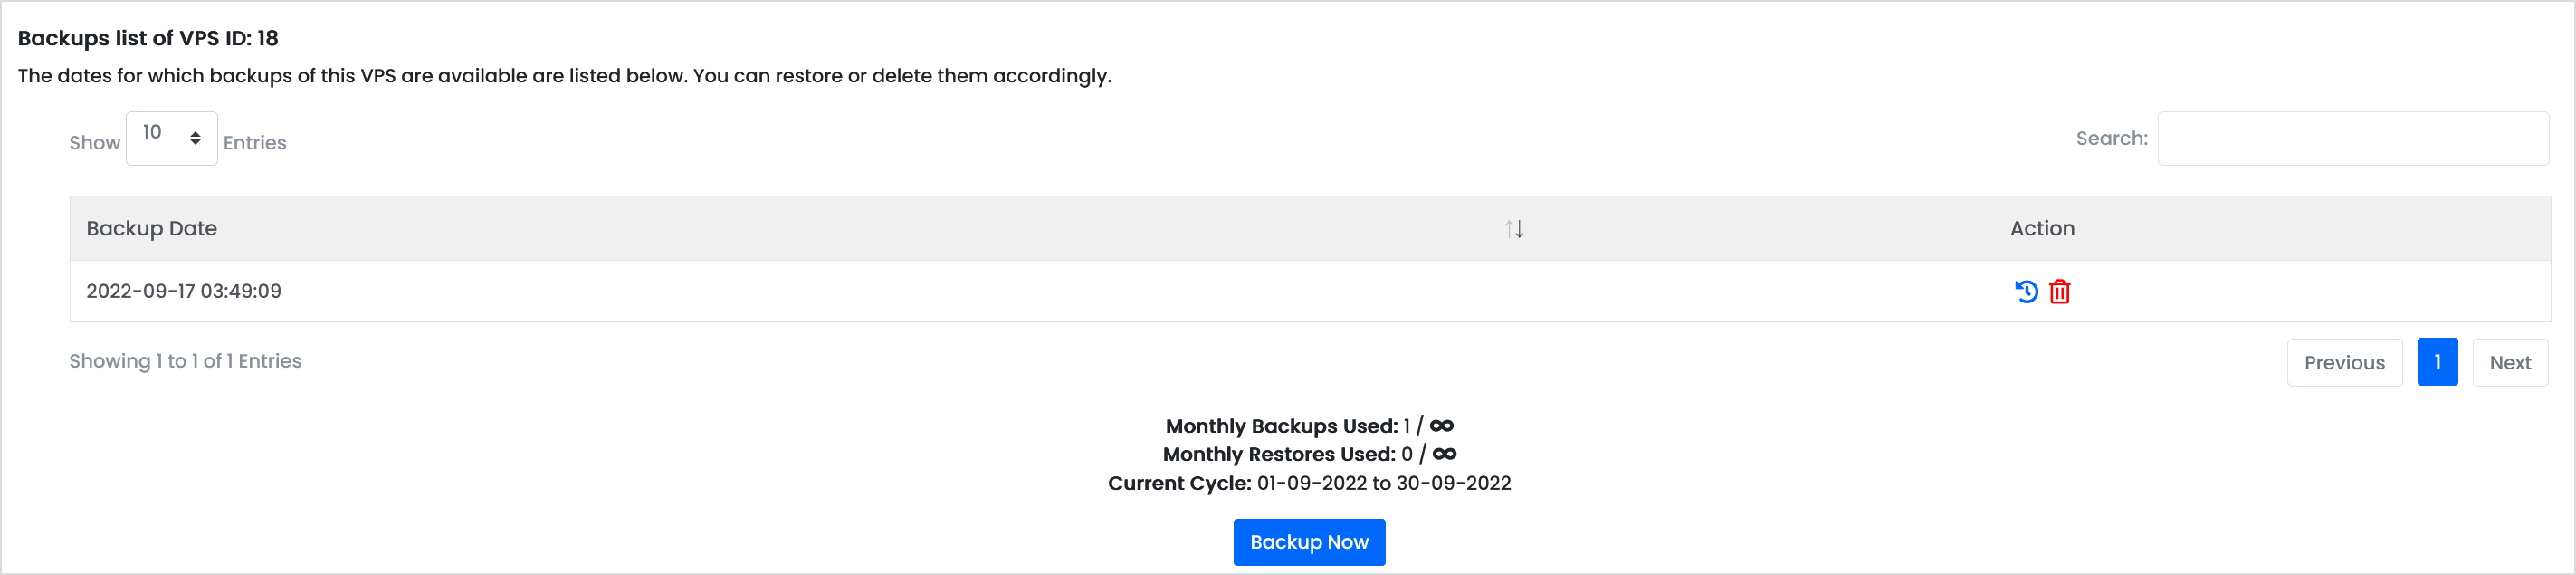
Listed in the table will be all the backups that are currently stored. Below are two actions.

| Action | Action Definition |
| Restore |
Selecting this will restore this backup to the VPS. This will delete data on the VPS. |
| Delete |
This will delete the backup from the system, doing this will be unrecoverable. |
Step 4
To create a manual backup, select "Backup Now" to manually backup your VPS.
How do I view the IP Address of my VPS?
Step 1
Sign in to the VPS panel.
VPS Panel: https://vps.aquatis.host:4083/
Step 2
Select the VPS you wish to view the IP settings for.

Step 3
Under the hostname will be your IPv4 Address that is assigned to your VPS.

To view the IPv6 Address, hover the mouse over the black box next to the IPv4 address to see additional addresses assigned to your VPS.

That's it! You now fully know how to view your VPS server's IPv4/IPv6 Address.
How do I create a manual backup for my VPS?
Step 1
Sign in to the VPS panel.
VPS Panel: https://vps.aquatis.host:4083/
Step 2
Select the VPS you wish to control.
Step 3
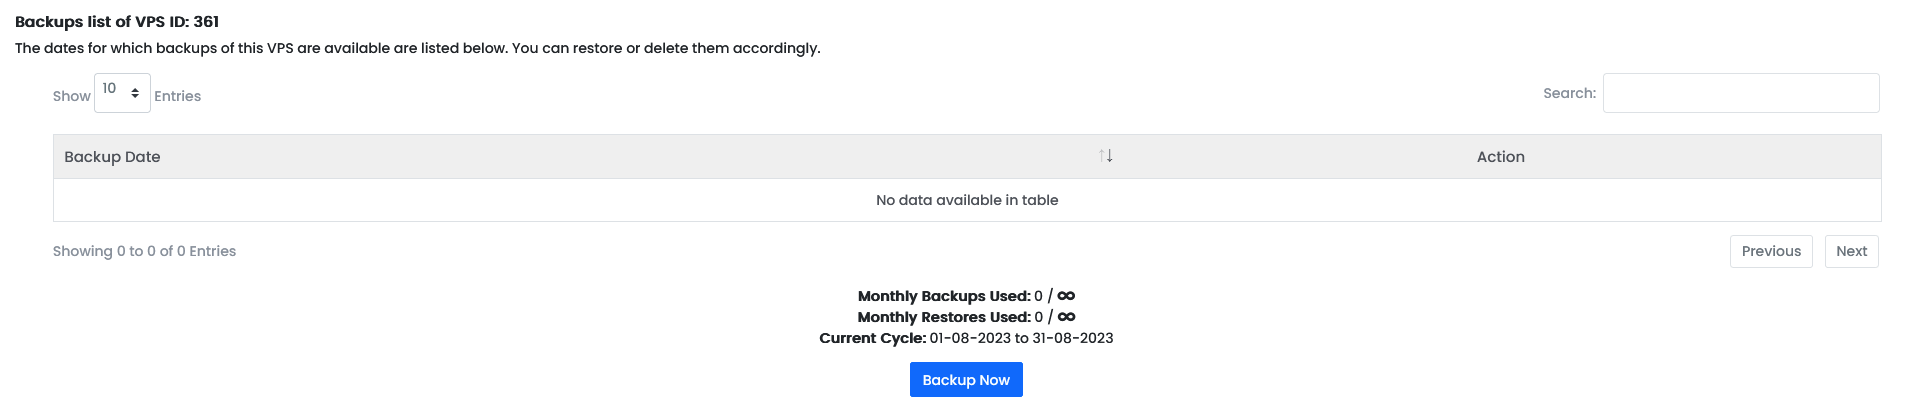
On the navigation bar, select the Backups button to view the Backups menu.

Step 4
Select the Backup Now button to start the backup process.
In this example, this VPS does not have any backups yet.
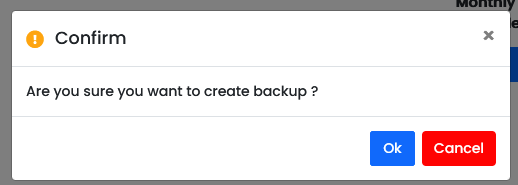
Step 5
Select Ok to initiate the backup process in the background.
This can take 1-10 minutes to complete.
How do I restore a backup for my VPS?
Step 1
Sign in to the VPS panel.
VPS Panel: https://vps.aquatis.host:4083/
Step 2
Select the VPS you wish to control.
Step 3
On the navigation bar, select the Backups button to view the Backups menu.
Step 4
Listed below are 2 VPS backups for the VPS we have selected above.

On the left-hand side, it will show the date and time when the backup was created, on the right-hand side are the actions available per backup.
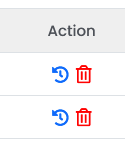
| Name |
Action |
| Restore |
Selecting this will restore the VPS to that mirror. |
| Delete |
Selecting this will delete the VPS mirror permanently. |
Select the restore action for the date and time you want to back up.
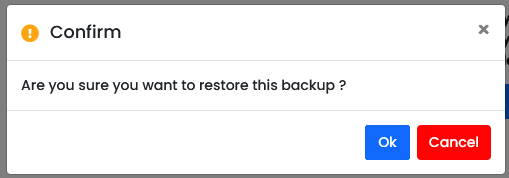
Step 5
Select Ok to initiate the restore process in the background.
This can take 1-10 minutes to complete.
This will permanently delete all data on your VPS at the moment and restore all data from the date and time you selected.
How do create a file system on my VPS's additional mount?
Step 1
Login to your VPS with an SSH tool, in this example we are using Bitvise SSH.
Once signed in, run the following command.
lsblk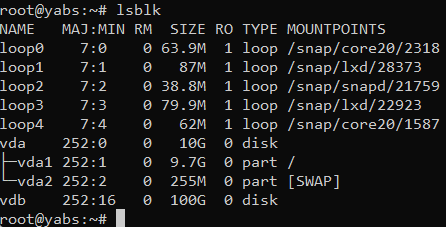
In the command, you will see two disk mounts, one is VDA which is your primary disk mount since it's mounted to /. Your additional disk mount is VDB with 100G in size.
/dev/vdb is our mount.
Step 2
Run the following command to create a file system on that disk.
mkfs.ext4 /dev/vdb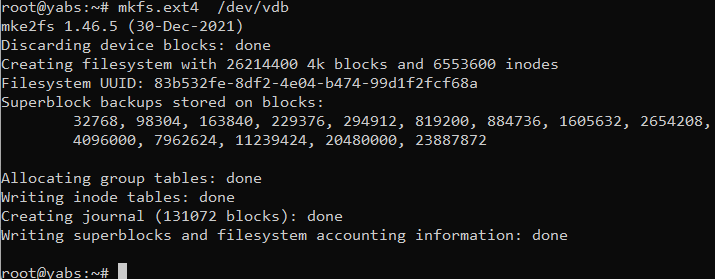
As you see now there is a file system of mkfs.ext4 created on that mount.
Step 3
Run the following commands to mount the file system to the OS. You can change the value of data to whatever you'd like.
You can change the /mnt/data folder to /mount or /data or whatever folder you'd like. This is just an example.
mkdir /mnt/data
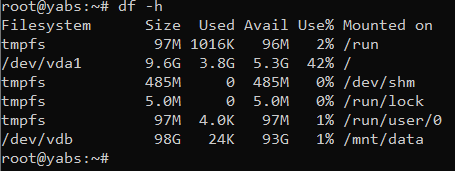
mount -t ext4 /dev/vdb /mnt/data
df -hLine 1 makes the directory. Line 2 makes the mount, mounting the drive /dev/vdb to the folder /mnt/data. Line 3 returns what your system appears like with the new file system
Upon completion, you will see the new usable mount where you can store all your data now.
Step 4
Add the details of the mount we completed earlier into the FSTAB file.
nano /etc/fstab
/dev/vdb /mnt/data ext4  defaults   0 0
After that, if you restart your server the file system will remain on there.
Failure to do this will cause your file system to umount during system reboots. Its recommend that you complete this!
That's it! You now fully know how to create a file system on your VPS's new mount.