Pterodactyl Guides
- How do I reset my forgotten password on Pterodactyl?
- How do I change my email address on Pterodactyl?
- How do I change my current password on Pterodactyl?
- How do I add/open a server port on Pterodactyl?
How do I reset my forgotten password on Pterodactyl?
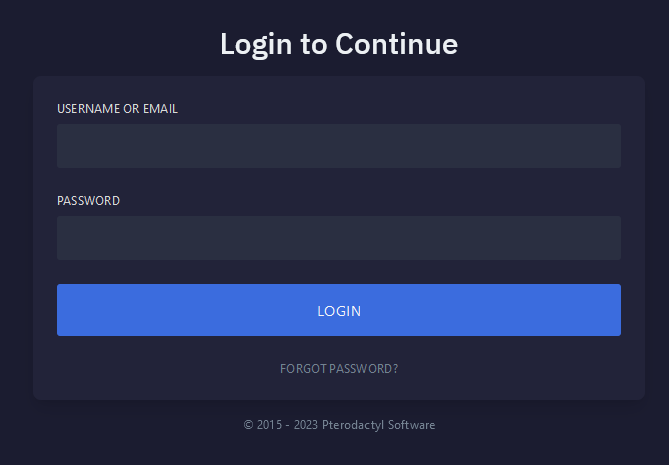
Step 1
Navigate to Pterodactyl panel's login screen.
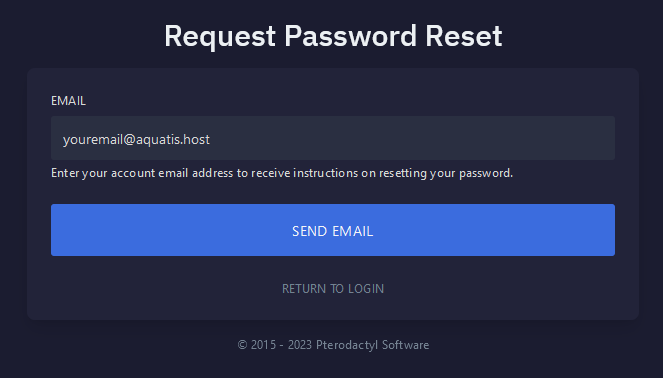
Step 2
Select Forgot Password.

Step 3
Type your email in the box and click the Send Email button.
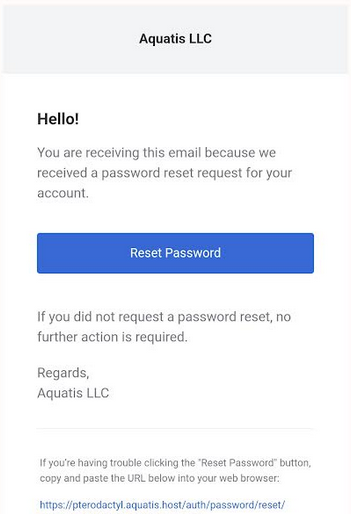
Step 4
Navigate to your email and select the Reset Password button on the Aquatis email.
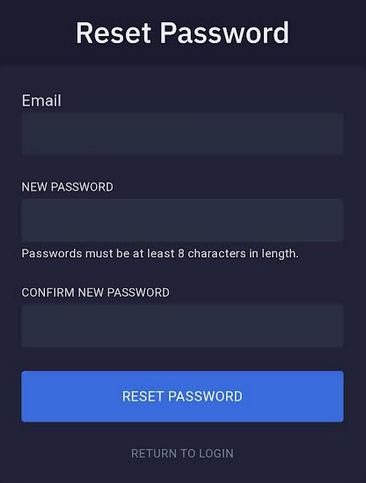
Step 5
Type in your new password, then type it again to confirm it. Once completed select the Reset Password button.
Step 6

You have completed reading this guide.
How do I change my email address on Pterodactyl?
Step 1
Navigate to Pterodactyl panel's login screen and Login.
Step 2
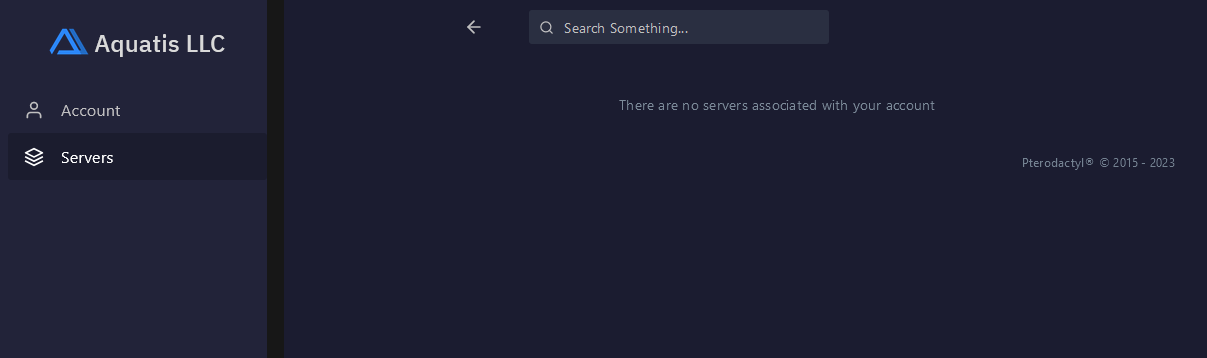
Navigate to the Account section on the left side navigation.
Step 3
Navigate to the Update Email Address section on the middle of your screen. Enter your new desired email, type in your current password and select the Update Email button.
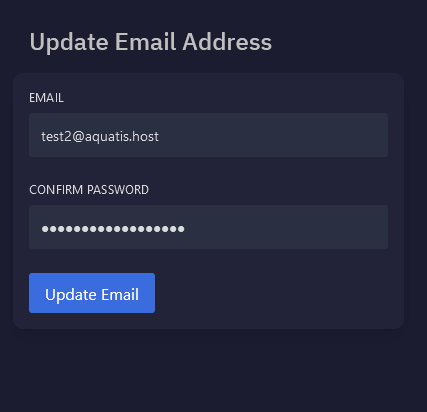
The system will apply the changes and stay on the screen. You will see a visual confirmation.
You have completed reading this guide.
How do I change my current password on Pterodactyl?
Step 1
Navigate to Pterodactyl panel's login screen and Login.
Step 2
Navigate to the Account section on the left side navigation.
Step 3
Navigate to the Update Email Address section on the left side of your screen. Enter your current password, type in your current new password twice in the boxes on your screen to confirm it. Then, select the Update Password button.
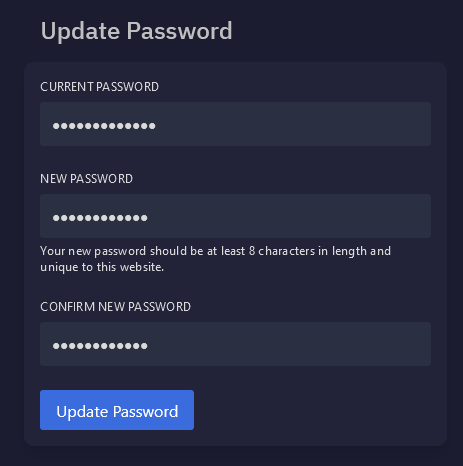
The system will apply the changes and stay on the screen. You will see a visual confirmation.
You have completed reading this guide.
How do I add/open a server port on Pterodactyl?
Step 1
Navigate to Pterodactyl panel's login screen and Login.
Step 2
Navigate to the Server section on the left side navigation.

Step 3
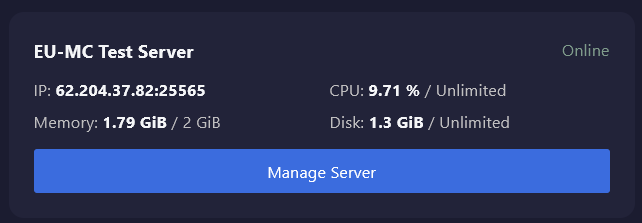
Navigate to the server you wish to manage, select the Manage Server button.
Step 4

Step 5
Select the Create Allocation button to create a new port allocation for your server.

Step 6
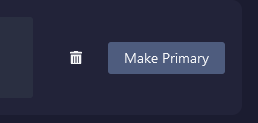
Type Notes into the notes box to create a reminder of what you are using that port for.

You are also able to delete the additional port, or make it the primary port for your server for players to connect with.
Step 7

Step 8
Restart the server with the stop then start button. Upon completion, the ports will be open.
You have completed reading this guide.