Multicraft Guides
- How do I create a Bungeecord Network?
- How do I find my Minecraft Servers FTP information?
- How do I find my Multicraft Servers ID?
How do I create a Bungeecord Network?
Video Guide
Prerequisite
You will need the items below prior to starting:
- One Bungee Server (512MB-1GB Server)
- One Hub Server (1GB-2GB Server)
- Two or More Core Player Servers (Ex: Factions, Creative, Survival) (Any RAM)
Why can't I have two servers on a bungee network?
Players having one hub server and bungee server would be the same as having just one regular server in general. If a player joins on the bungee server, they would be re-directed to the hub server instantly.
Step 1
Ensure you meet the prerequisites above.
Step 2
Step 3
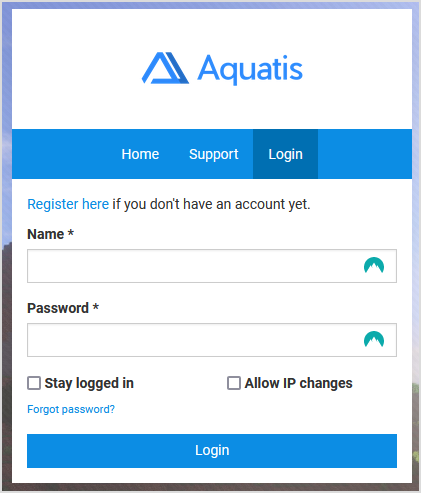
Login to the panel with your credentials.
Step 4
On multicraft ensure you own at least 4 servers. If you don't own that much we recommend you purchase more. Once you have all the servers on multicraft we recommend you rename them so they can be more organized for you. We recommend you format the server names as below.
[Network Name] // [Server Name]
One example could be Exorath // Bungee. Review the image below to get a great example.

Step 5
On Multicraft, change the server jars to the ones you want to use for the network.
Normally the bungee server has 512MB ram assigned to it since it does not need many resources to run.
You set the bungee jar for one of the servers with the lowest amount of ram and the rest of the servers as spigot as it's recommended.
Ensure the bungee server is completely empty, meaning no files in the FTP system.
Assign the bungee server the latest bungeecord.jar on our jar list and the rest spigot server jars.

Step 6
We will now edit the config.yml file. Navigate on the left-hand side to "Files > FTP File Access"

Step 7
Sign in to the Website FTP server.
Step 8
Click "edit" or download the file config.yml as it's the file that we will be configuring.
Once you open the file you will be shown a lot of items. We will be going over the basics. if you need more help you could find a great guide here as it will teach you what each component does.
Step 9
Scroll down to the host section. Replace 0.0.0.0:25577 with your Server IP address.

We will not be doing most of the settings as this is a basic setup. Change your MOTD to something cool & unique!

Now for the servers section. For each server copy the Lobby section to the restricted.
It should look like this at the start.

Now make 3 copies for the rest of the servers. The MOTD should match your original MOTD. The address should be the IP address of each of the sub-servers. Leave the rest alone. Allow ip_forward to be active. Change it from false to true.
In the end, it should look similar to this but with your own details.

Step 10
Save the file and re-upload it back to the server. Start the bungee server, if the server does not successfully boot, you may have done some formatting wrong as YML is very strict with the formatting. We recommend you use a YAML parser to check for errors.
If the bungee server boots. You did a great job! But you are not finished yet! Go to each of the sub-servers under our multicraft panel. Once you reach it on the left of the screen click Files > Config Files.

On the list that it gives you click Server Settings, It is usually the first option. Once you click it. Scroll down to Online Mode, and change it from True to False.
This changes your server mode from online to offline, meaning it's not using Minecraft auth servers to verify accounts. Your bungee cord will be the only server running online mode as it's the server everyone will connect from.
Once you have done that, log in to the FTP, open spigot.yml, change "bungeecord=false" to "bungeecord=true" and restart the server. Be sure to do it for each of your sub-servers! Finally, join your server with the bungee IP!
If your still having issues, don't hesitate to contact our support team for help!
How do I find my Minecraft Servers FTP information?
This guide will show you how to access your FTP information for third-party applications like Filezilla.
Step 1
Step 2
Login to the panel with your credentials.
Step 3
Navigate to the server where you want to get the FTP information for.

Step 4
On the menu on the side, select "Files > FTP File Access".
Step 5
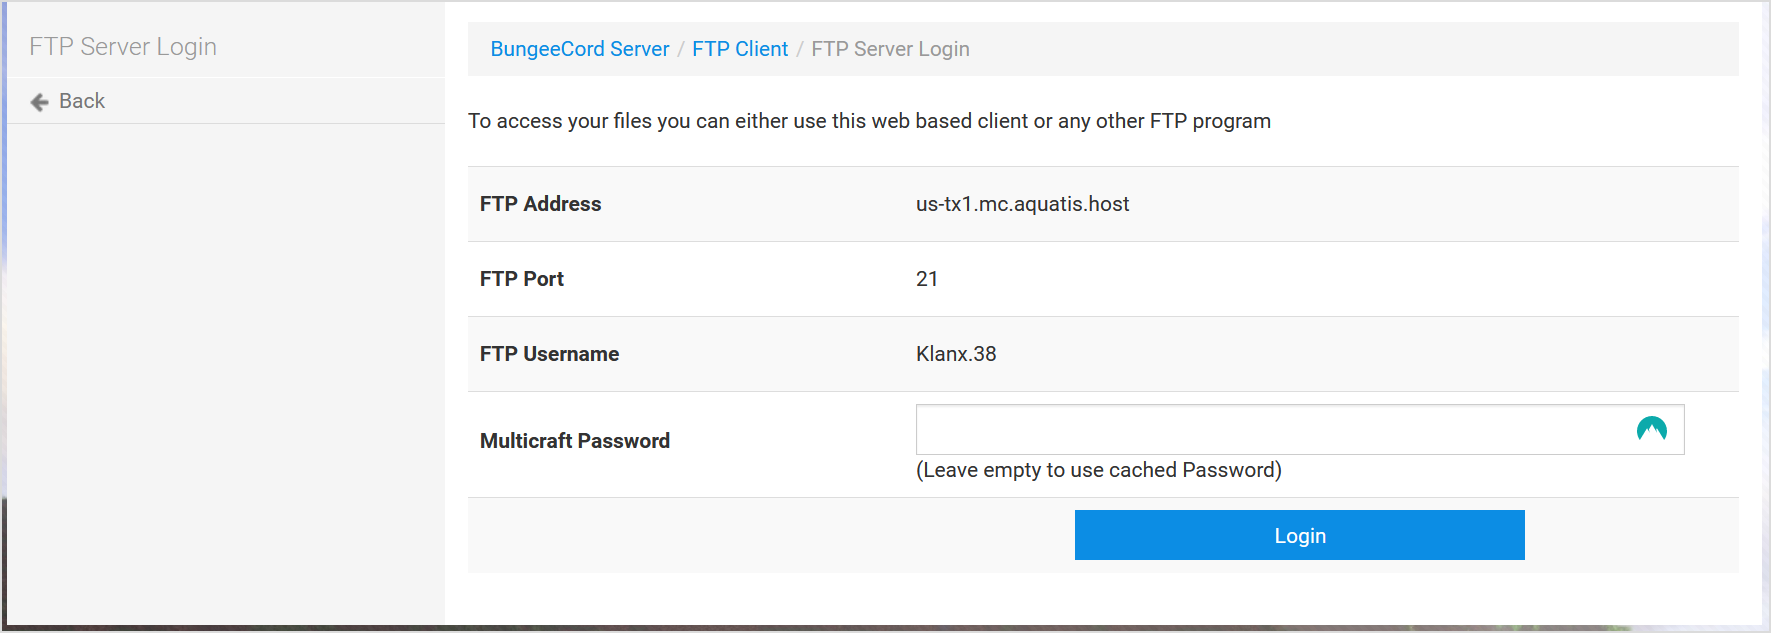
Record the details listed on your panel. Below is an example of what it should look like.
| FTP Address or FTP Host: | us-tx1.mc.aquatis.host |
| FTP Port: |
21 |
| FTP Username |
Klanx.38 |
| FTP Password |
The password you used to sign in to multicraft. |
The username normally consists of the username of the user accessing the account and the server ID at the end. So in this example, the Username of the user is Klanx and the server ID is server 38. So the FTP account username would be Klanx.38!
How do I find my Multicraft Servers ID?
This guide will show you how to locate your Multicraft Server ID. Each server that is hosted under us has a specific number assigned to it that we refer to as an ID. This allows us to identify the server whenever we are troubleshooting.
Step 1
Step 2
Login to the panel with your credentials.
Step 3
Navigate to the server where you want to get the server ID for.
Step 4
On the top of the address bar, you should see your server Id at the end of the link.

The number at the end of the link identifies your server ID which for this server is 8219.