# How do I point DNS records from Cloudflare to my site?

When you first link your website to cloudflare, your new website may not receive traffic due to a DNS configuration issue. In this guide we will show you how to add a DNS record to your website to accept traffic.

<p class="callout warning"><span class="ILfuVd" lang="en"><span class="hgKElc">Your domain must be linked to Cloudflare and pointing to us via DNS records. If your website is not linked with Cloudflare, you can follow our guide **[here](https://knowledgebase.aquatis.host/books/cpanel-guides/page/how-do-i-link-my-website-to-cloudflare)**.</span></span></p>

##### Step 1

**Sign** in to **[Cloudflare](https://dash.cloudflare.com/login)** with your personal details.

[![image.png](https://knowledgebase.aquatis.host/uploads/images/gallery/2022-09/scaled-1680-/zosG8cOUyjCrMTbu-image.png)](https://knowledgebase.aquatis.host/uploads/images/gallery/2022-09/zosG8cOUyjCrMTbu-image.png)

##### Step 2  


Select the **Domain** you wish to modify.

[![image.png](https://knowledgebase.aquatis.host/uploads/images/gallery/2022-09/scaled-1680-/mzPFrT6dnGuml562-image.png)](https://knowledgebase.aquatis.host/uploads/images/gallery/2022-09/mzPFrT6dnGuml562-image.png)

##### Step 3

On the left navigation bar, select **DNS**.

[![image.png](https://knowledgebase.aquatis.host/uploads/images/gallery/2022-09/scaled-1680-/qPI59L2GEqR8HfAP-image.png)](https://knowledgebase.aquatis.host/uploads/images/gallery/2022-09/qPI59L2GEqR8HfAP-image.png)

##### Step 4  


Select **Add record** to create a DNS record.

[![image.png](https://knowledgebase.aquatis.host/uploads/images/gallery/2022-09/scaled-1680-/bATUTmtnJCvfDC9T-image.png)
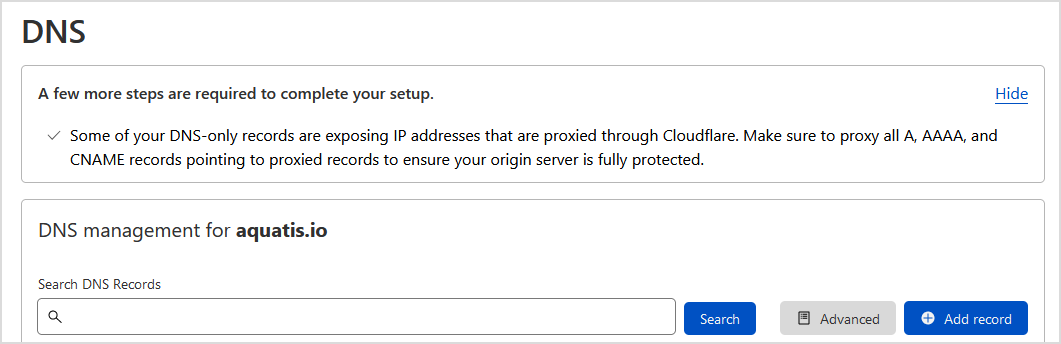
](https://knowledgebase.aquatis.host/uploads/images/gallery/2022-09/bATUTmtnJCvfDC9T-image.png)

##### Step 5  


On the "Type" drop-down, select **A**.

[![image.png](https://knowledgebase.aquatis.host/uploads/images/gallery/2022-09/scaled-1680-/Kx7zNjs6K2vCKfZ7-image.png)
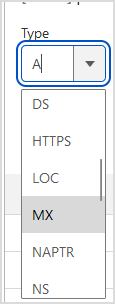
](https://knowledgebase.aquatis.host/uploads/images/gallery/2022-09/Kx7zNjs6K2vCKfZ7-image.png)

##### Step 6  


<label for="cancellationreason">In the "Name (required)" text box, type **@** so the mail goes to the main domain name.</label>

[![image.png](https://knowledgebase.aquatis.host/uploads/images/gallery/2023-01/scaled-1680-/KCyr0kgx93m3qVGv-image.png)
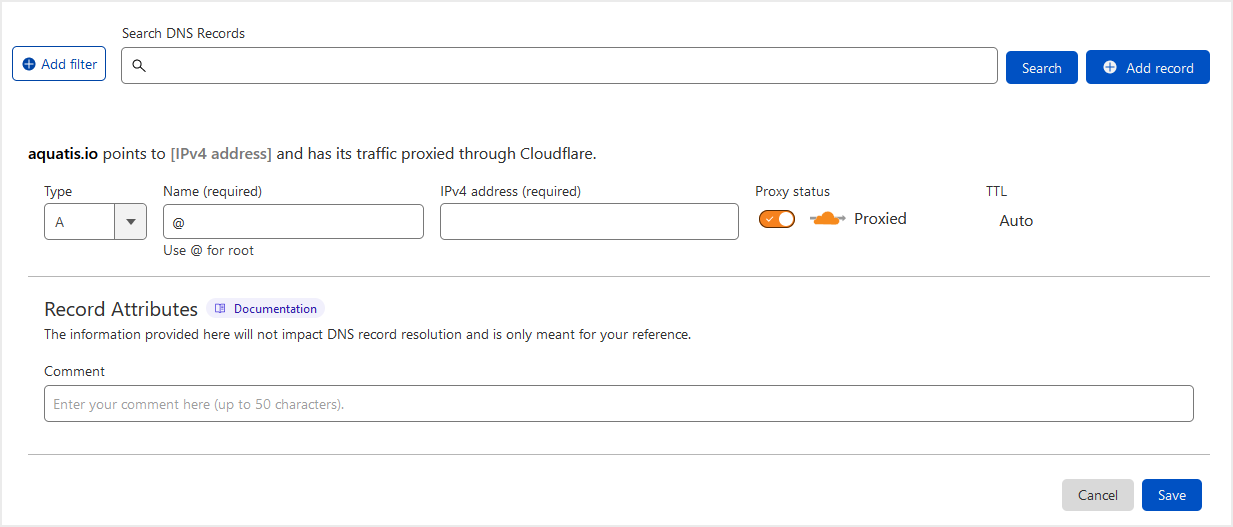
](https://knowledgebase.aquatis.host/uploads/images/gallery/2023-01/KCyr0kgx93m3qVGv-image.png)

##### Step 7  


<label for="cancellationreason">In the "IPv4 address (required)" text box, navigate to cPanel and copy the **Shared IP Address** value into the Ipv4 address box.  
</label>

[![image.png](https://knowledgebase.aquatis.host/uploads/images/gallery/2022-09/scaled-1680-/dQ4foIYuEzkLdmdm-image.png)](https://knowledgebase.aquatis.host/uploads/images/gallery/2022-09/dQ4foIYuEzkLdmdm-image.png)

[![image.png](https://knowledgebase.aquatis.host/uploads/images/gallery/2023-01/scaled-1680-/ZvBcyLNsi5RjPTmQ-image.png)
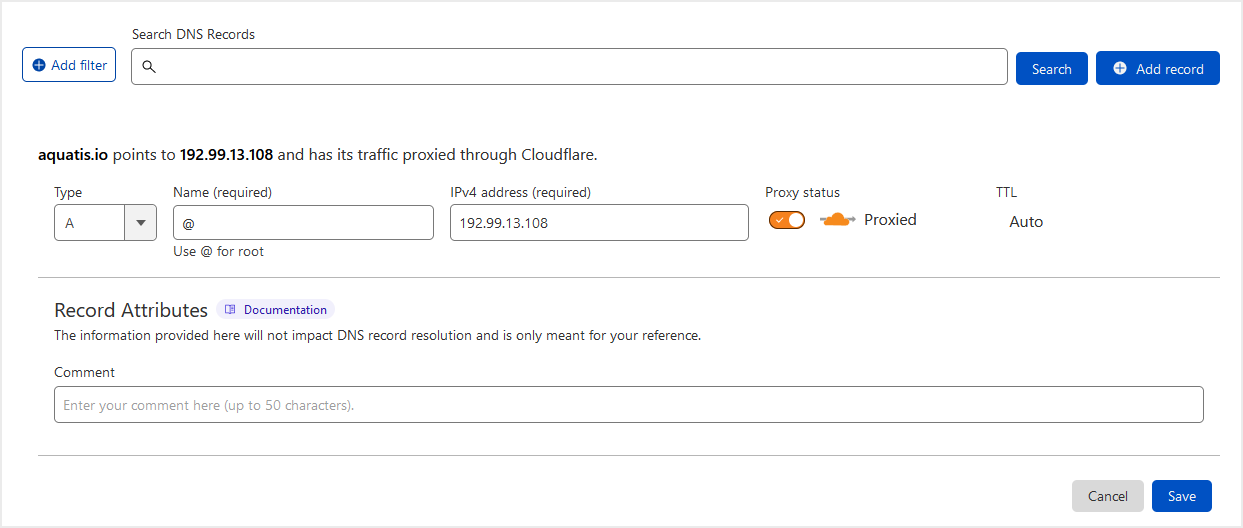
](https://knowledgebase.aquatis.host/uploads/images/gallery/2023-01/ZvBcyLNsi5RjPTmQ-image.png)

##### Step 8  


<label for="cancellationreason">Ensure the Proxied status is set to **on**.</label>

[![image.png](https://knowledgebase.aquatis.host/uploads/images/gallery/2023-01/scaled-1680-/qokMqYza3slTtiEj-image.png)
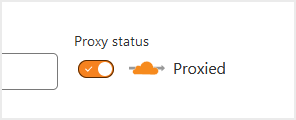
](https://knowledgebase.aquatis.host/uploads/images/gallery/2023-01/qokMqYza3slTtiEj-image.png)

##### Step 9  


Select **Save** to add the record to your DNS. Wait 5-15 minutes before accessing your main website URL.