cPanel Guides
- How do I link my website to Cloudflare?
- How do I edit my website files with an FTP client?
- How do I point DNS records from Cloudflare to my site?
How do I link my website to Cloudflare?
In this guide, you will learn how to link up your website to Cloudflare. Aquatis strongly encourages customers to link their website to Cloudflare as it improves your website and application performance/security. Cloudflare is free.
Step 1
Navigate to Cloudflare and select the Sign-Up button on the navigation bar.

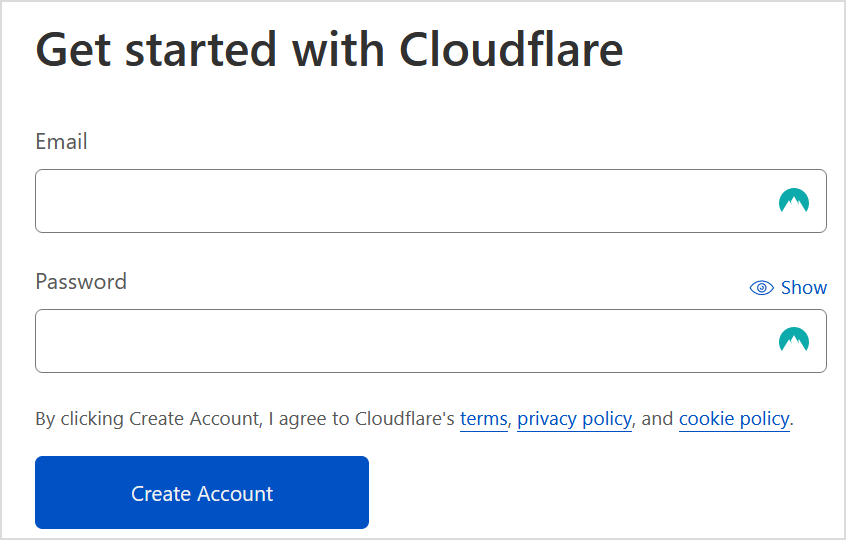
Step 2
Fill in your email and desired password and select the Create Account box.
The information you submit on Cloudflare does not need to match your Aquatis account billing information.
Step 3
Select "Get started" for the first option, Cloudflare for Infrastructure.

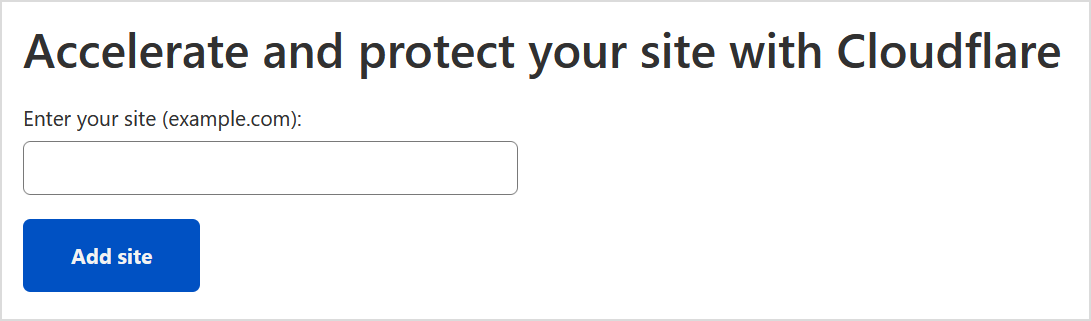
Step 4
Type in the Domain that you would like to link to Cloudflare.
If your website is https://www.yourdomain.com, do not include https:// or www. in your domain while entering. For the example here, you would only put yourdomain.com.
Step 5
Select the Free plan at the bottom, then select Continue.
You are free to purchase any plan you want, please note that Aquatis is not affiliated with Cloudflare in terms of support/sales.

Step 6

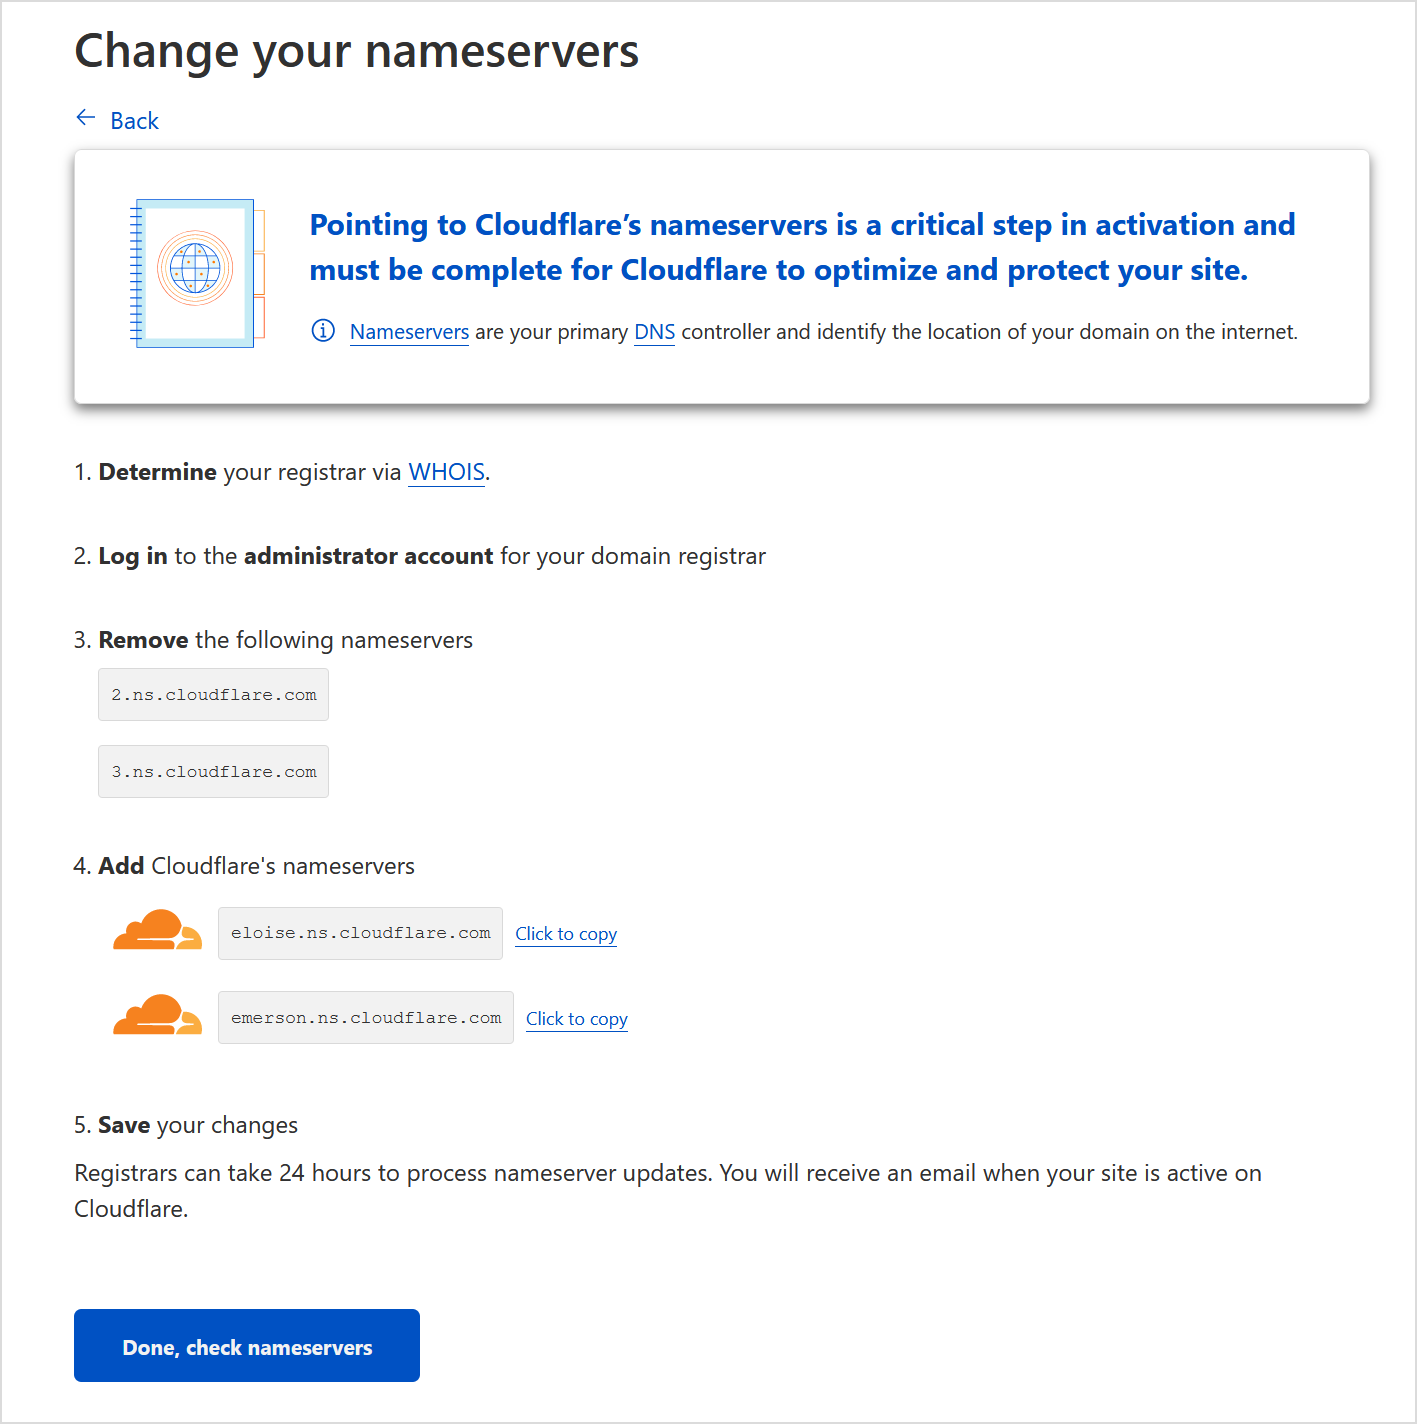
Step 7
Record the name servers provided to you from Cloudflare. Login to your domain registrar and change the names of servers to the ones provided by you from Cloudflare. In this example, they are eloise.ns.cloudflare.com & emerson.ns.cloudflare.com. Once you are done, select "Done, check nameservers".
The name servers provided on your end may/will be different from this example. So be sure to read your screen to verify!
Using Aquatis as your domain registrar? We have a link to our article here on how to do so!
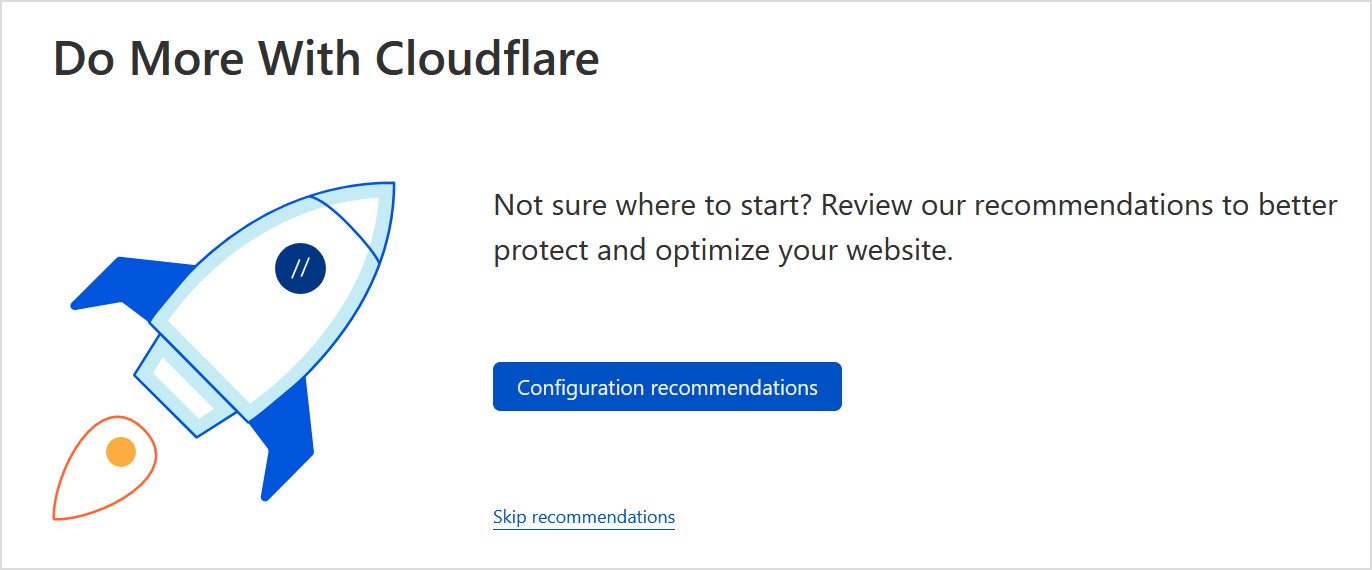
Step 8
Configure recommendations based on your preference. If you are not sure what to do, select skip recommendations for now.
Step 9
Wait 24 hours while your name servers are propagated over to Cloudflare. Once you get an email from Cloudflare saying your website is active. You are all set!
How do I edit my website files with an FTP client?
In this guide, you will learn how to link an FTP client to your website and learn how to access your web hosting files.
An FTP client is an application on your computer that connects you to remote servers through FTP and other protocols.
Step 1
Download & Install an FTP client. In this example, we will be using Filezilla.

Step 2
Sign into cPanel.
Step 3
Copy the Shared IP Address value. This will be referred to as the FTP host later on.

Step 4
Navigate back to Filezilla and open Site Manager under File.

Step 5
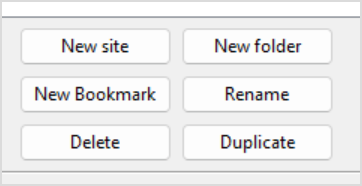
Select "New site" to create a new Site to keep stored on your FTP client.
Step 6
Type in the name that you want the site to be named as in the FTP client.

Step 7
Configure the values as shown, then select OK.
Protocol: SFTP - SSH File Transfer Protocol
Host: Shared IP Address from Step 3
Port: 22
User: cPanel Username that you used to sign in from Step 2
Password: cPanel Password that you used to sign in from Step 2

Using SFTP (Port 22) allows secure file transfers over the internet. Using FTP (Port 21) is considered unsecured, meaning the content of your files is not encrypted when being transferred over the internet.
Step 8
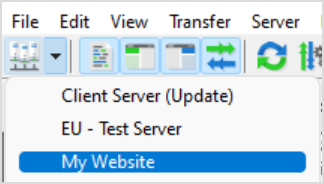
Select in the Site Manager dropdown the site you just created.
Step 9
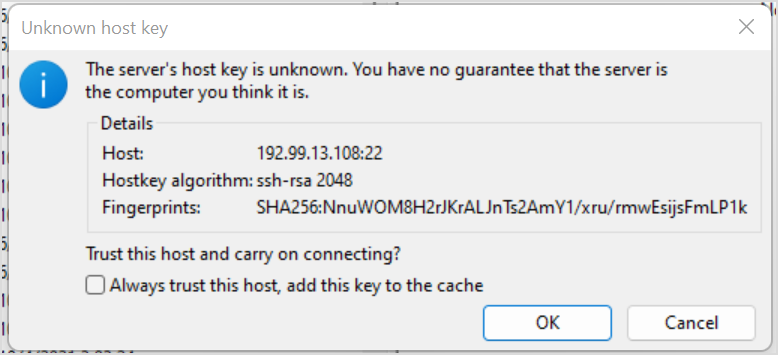
Read the prompt that appears about an unknown host key. Ensure that the Host matches the Shared IP address from Step 3, if so. Select OK.
Step 10
Complete the tasks that you need to do
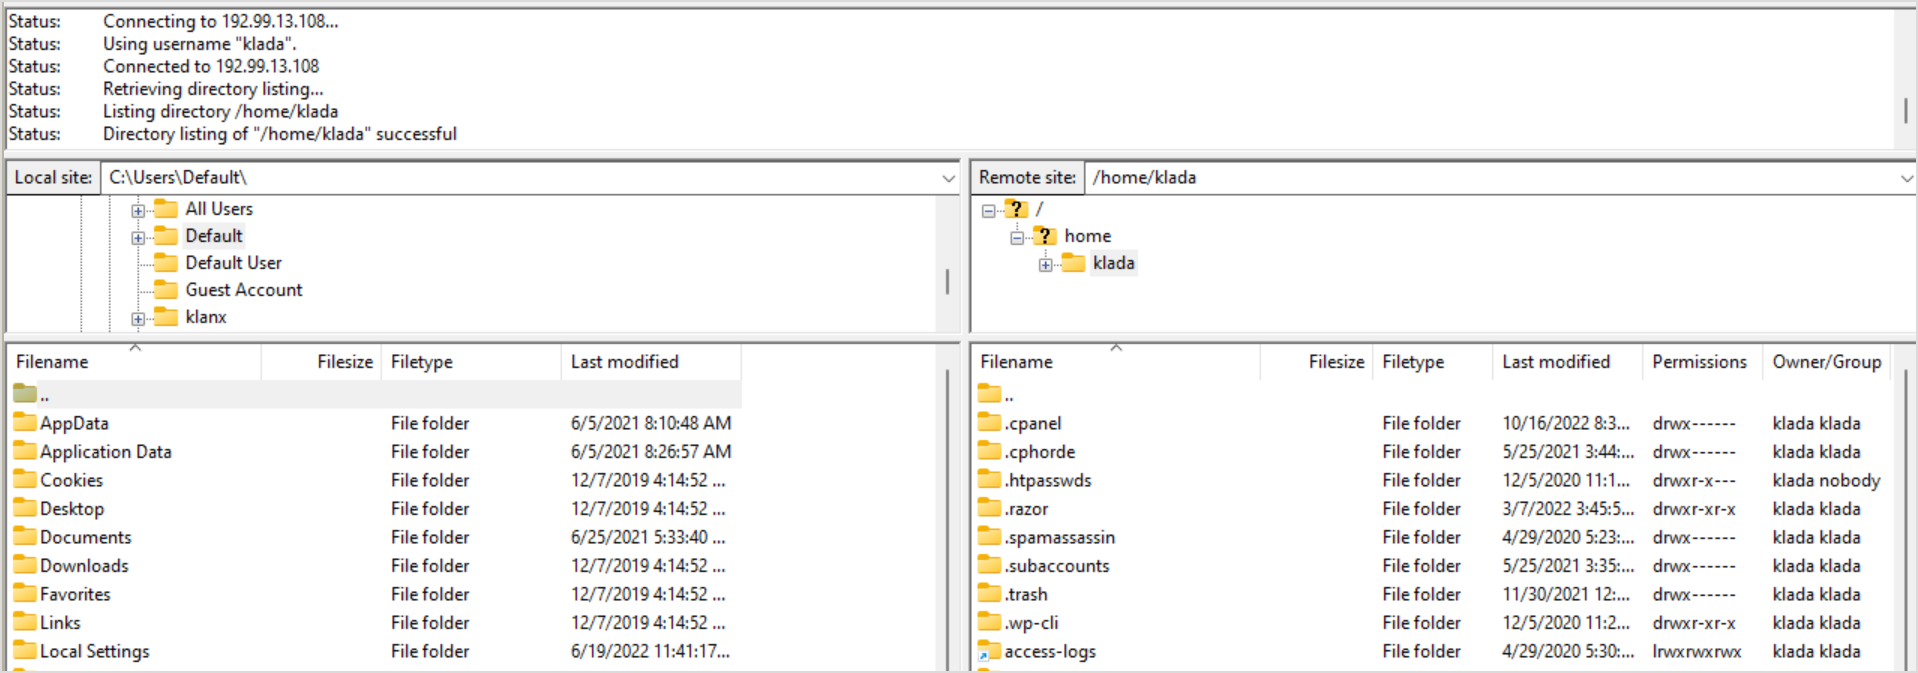
The left-hand side is your local computer, the right-hand side is the website files. To modify files that are public, navigate to the "public_html" file and start placing/removing content there.
You have completed reading this guide.
How do I point DNS records from Cloudflare to my site?
When you first link your website to cloudflare, your new website may not receive traffic due to a DNS configuration issue. In this guide we will show you how to add a DNS record to your website to accept traffic.
Your domain must be linked to Cloudflare and pointing to us via DNS records. If your website is not linked with Cloudflare, you can follow our guide here.
Step 1
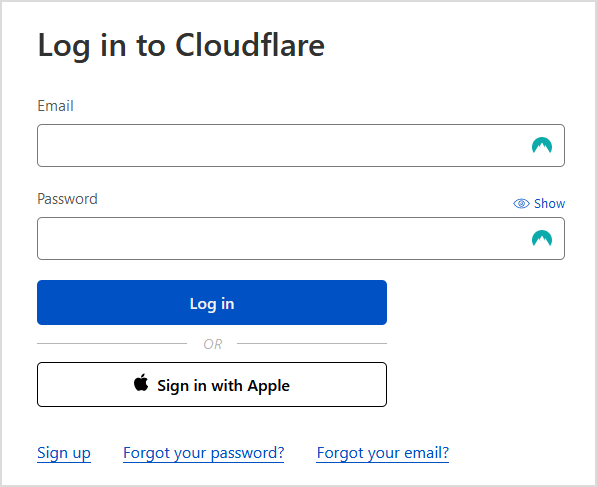
Sign in to Cloudflare with your personal details.
Step 2
Select the Domain you wish to modify.

Step 3
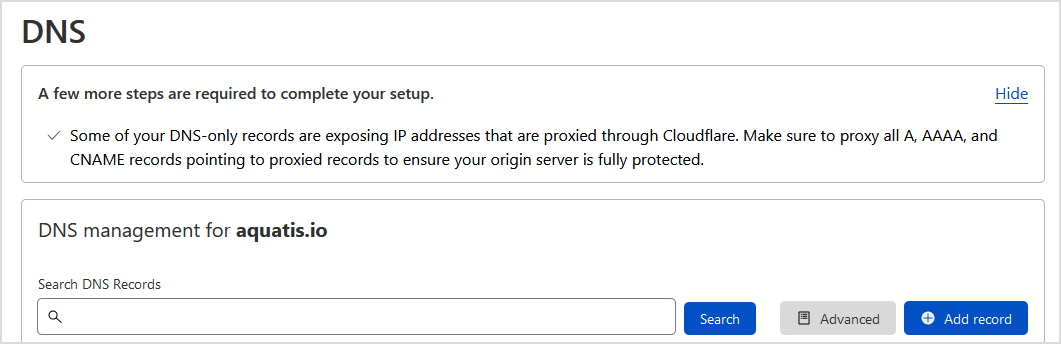
On the left navigation bar, select DNS.

Step 4
Select Add record to create a DNS record.
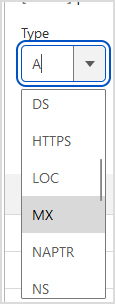
Step 5
On the "Type" drop-down, select A.
Step 6

Step 7


Step 8

Step 9
Select Save to add the record to your DNS. Wait 5-15 minutes before accessing your main website URL.